you might also like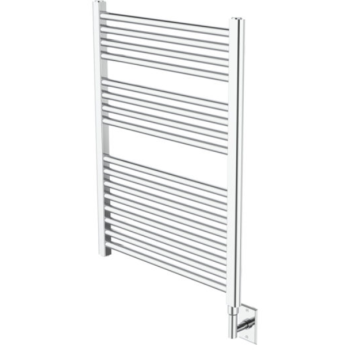 $924.80
Questions and Answers
KartnersVernon Denver Towel WarmerDEN-1200600
23-5/8" W x 47-1/4" H
Finishes and Colors: Polished Chrome
Extra 5% off the Kartners - DEN-1200600
Sale ends Sep 21st, 9:00 AM EST
Sale ends Sep 21st, 9:00 AM EST
Discount applied in cart
Free Shipping
Damage-Free Guarantee
Free Warehouse Storage
Compatibility Checks
Kartners DEN-1200600 Specs
| Width | 23-5/8" |
|---|---|
| Installation | Wall Mount |
| Material | Metal |
| Shape | Rectangular |
| Height | 47-1/4" |
| System Type | Electric |
| Collection | Vernon |
| Overview |
|
|---|---|
| Brand | KartnersShop All Kartners |
| Collection | VernonShop All Vernon |
| Model Number | DEN-1200600 |
| Alternative SKU | Kartners DEN-1200600-BN, Kartners DEN-1200600-MB, Kartners DEN-1200600-PC, Kartners DEN-1200600-PN |

Details
- Please choose finish
- Wall mounted
- Hardwire installation kit
- Mounting instructions
- All electric and oil filled
- Cover plates
- Timer available- sold separately
There is 1 question and answer about this item
Q:Can it be hard wired on the left side?
A:
It can. Kartners doesn't do it but it can be done at your site. 1. Plug in towel warmer for 10 minutes to ensure element is slightly warm. This will allow it to remove more easily 2. Invert towel warmer 3. Slide back decorative cover on the cord that hides where it connects to the warmer 4. Using a wrench, loosen the element and remove 5. Remove nut on opposite leg of warmer 6. Insert element into this leg and tighten 7. Install nut back in position where element was before While not required, we do recommend the use of plumbers tape on all threading when reinstalling to provide extra security.
Answered by Ellie on 05.24.2022