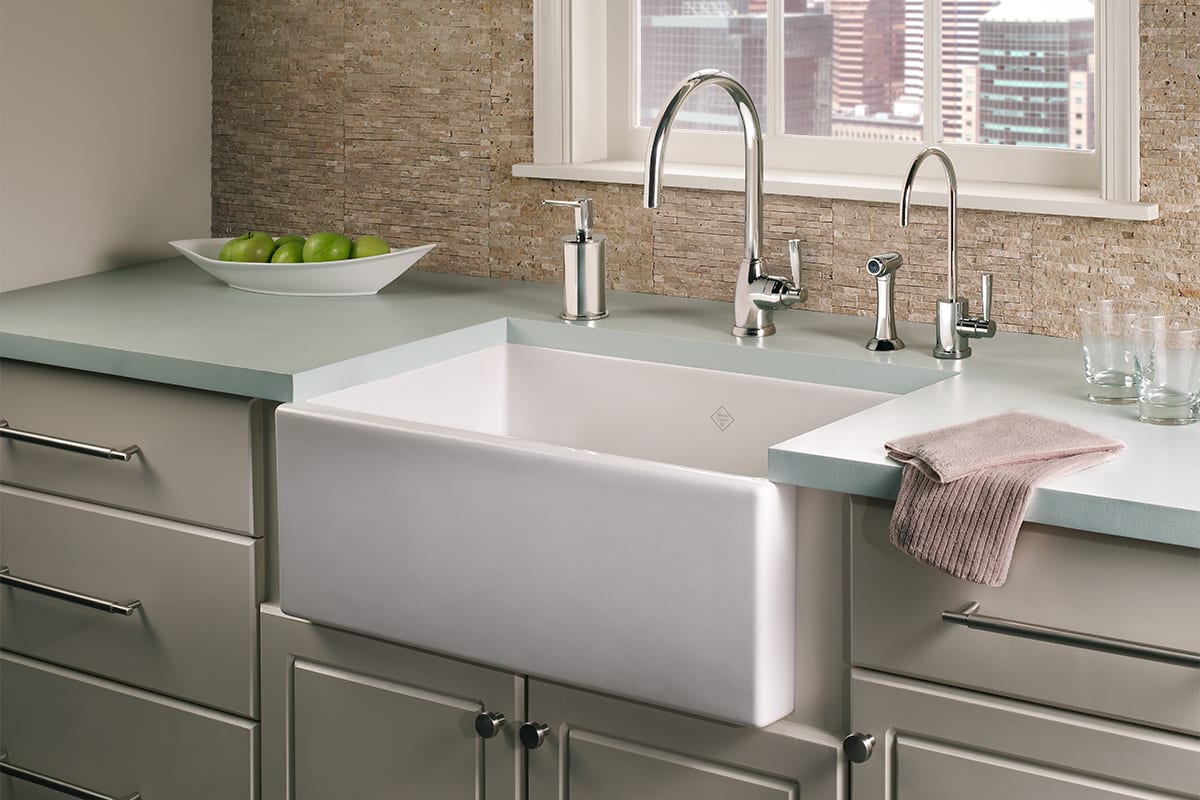
How to Repair a Scratched Fireclay Sink
Repair your fireclay sink with step by step instructions that are expert recommended and two-left-thumbs-approved.
Fireclay is nearly indestructible… and the key word here is “nearly.” Like every other material, fireclay is not infallible (though it’s pretty close). If your sink is sporting a crack (or a network of fine cracks, known as fireclay sink crazing), scratch, or chip, don’t panic: fireclay sink repair may be easier than you think. For fireclay sink crack repair, evaluate the size of the crack. Small cracks or crazing can be repaired using the methods below, but a large crack usually can not be repaired.
Fireclay sink scratch repair
Many surface scratches may actually not be scratches at all. In fact, it’s more likely that the “scratch” is simply residue or scuffing from other objects in the sink. These scratches are usually easily removed with a mildly abrasive cleanser or scrubber and some elbow grease.
If the scratches are indeed scratches and remain visible and touchable after thorough cleaning, an effective method recommended by our experts is to buff out the scratch using a fire brick, available on Amazon. These lightweight bricks may be cut to size and reused for other applications such as soldering.
To use your fire brick:
- Clean the sink thoroughly
- Cut the brick to a comfortable-to-hold size using a saw
- Carefully rub the brick over the scratch area; apply gentle pressure
- Continue to buff the scratch and surrounding area to blend it in
- Wipe away dust and residue with a soft cloth
Many sink manufacturers provide a fireclay sink repair kit specifically for this purpose. These kits, like the Rohl fireclay sink repair kit, are designed especially for the purpose of fixing damage on fireclay sinks.
To use your sink repair kit:
- Clean the sink thoroughly
- Shake the bottle of liquid filler for at least two full minutes to ensure thorough mixing
- Apply the compound (it’s similar to acrylic paint) using the included applicator or a toothpick
- Working with small amounts at a time, fill the damaged area completely and carefully
- Promptly wipe away excess or improperly applied filler with a damp cloth and reapply as necessary
- Allow the area to dry completely for 24 hours; avoid all pressure and moisture
- Some repair kits include a blue light and special tape:
- Place tape over the filled area
- Shine the blue light directly at the tape for 5-10 minutes
- Remove tape and gently sand the area with fine-grit sandpaper
- Wipe away any dust or residue with a soft cloth
- Polish with included polishing paste and a soft cloth
Always follow the instructions included in your repair kit for best results.
Fireclay sink chip repair
In the unlikely event that your fireclay sink sustains a chip, repair it using the repair kit. For smaller chips, smooth the edges with a fire brick.
Fireclay sink cleaning and maintenance
Like all materials, it’s important to learn how to clean a fireclay sink properly to maintain its finish and beauty. With proper (light) maintenance, its heavy-duty composition will look shiny and new for years to come; fireclay will not discolor or crack like other sink materials and is nonporous, acid- and alkali-resistant as well. (And if you’re committed to protecting our planet, good news – fireclay sinks are lead-free, made of all-natural, eco-friendly material, and entirely recyclable.)
Fireclay is relatively low-maintenance; follow these rules to keep it looking great:
- Wash the sink daily or whenever it gets dirty
- Wipe down the sink with a soft, dry cloth after each use to prevent water spots
- Clean more significant buildup or dirt with a mildly abrasive cleaning product or baking soda; apply with a damp sponge; daily abrasive cleaning will not harm the finish
- Lightly coat the sink with liquid wax once a month to encourage proper drainage
- A sink grid is recommended to protect your investment